
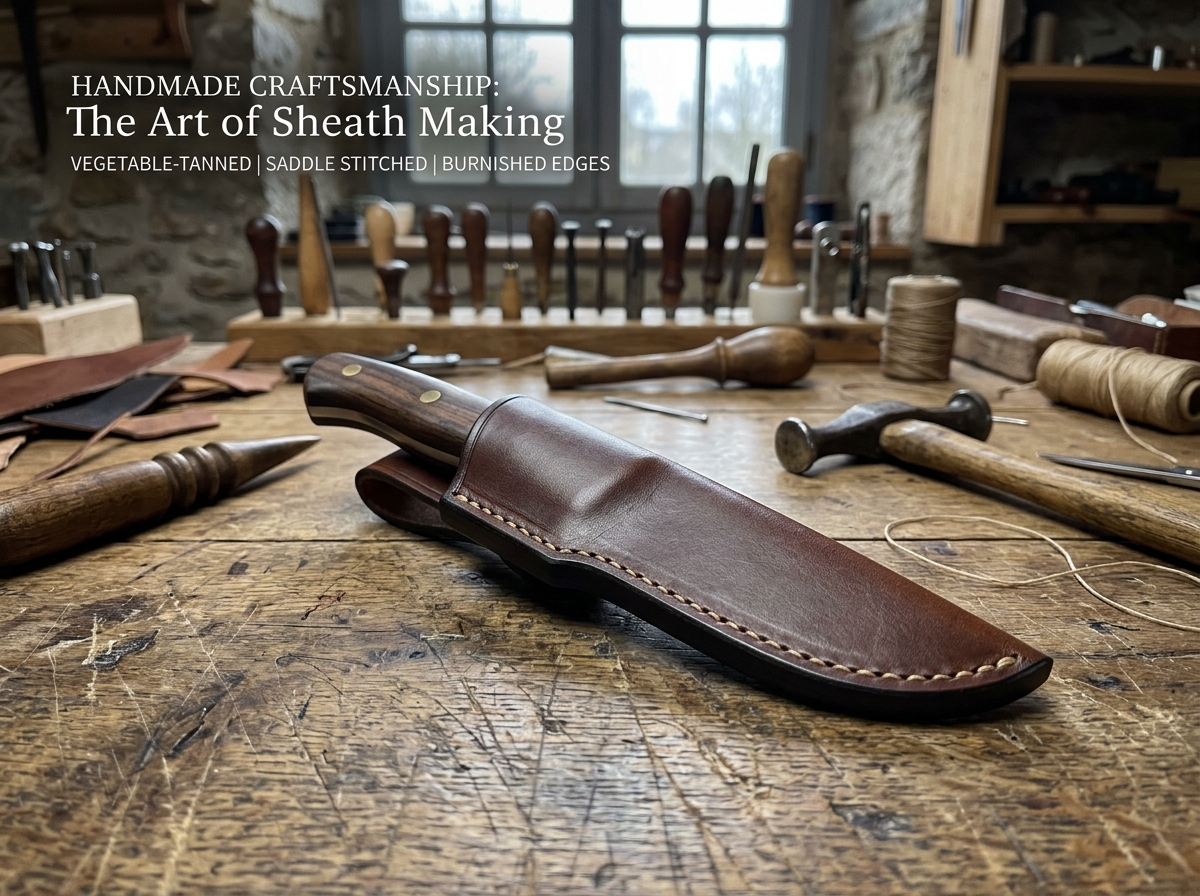
Making your own gear is incredibly rewarding, and learning how to make a sheath for a knife is a foundational skill for anyone who spends serious time outdoors. A good fixed-blade knife needs a sturdy home—something that protects the razor-sharp edge, prevents accidents, and keeps the tool secure on your hip.
By building a custom leather carrier from scratch, you guarantee an exact friction lock tailored precisely to your knife’s guard and handle scales. Here is the step-by-step process for building a rugged, lifelong piece of field gear.
Required Tools and Materials
Before making your first cut, you need the right materials. Using the wrong leather can actually ruin your blade over time.
- Vegetable-Tanned Cowhide (7oz to 9oz): You must use veg-tan leather. Chrome-tanned leathers contain residual chemical salts that will absorb moisture and quickly rust your carbon steel blade.
- Waxed Thread and Harness Needles: Thick, wax-coated polyester or linen thread (0.8mm to 1.0mm) combined with two blunt-tipped harness needles.
- The Bench Toolkit: A razor-sharp utility knife, contact cement, a mechanical wing divider, an awl, a stitching chisel (or an overstitch wheel), a clean sponge, and a wooden edge slicker.
The Master Assembly Sequence
Building a sheath is a strict, sequential process. Rushing a step or doing things out of order will compromise the fit and structural safety of the final product.
1.Design and Cut the Paper Template:
Scale Blueprinting.
Place your fixed blade flat onto a heavy sheet of graph paper. Trace accurately around the blade and handle bolster, then fold the paper along the spine edge to create a mirrored fold-over pattern. Critical: Draw a 1/2-inch border completely around the sharp cutting-edge path. This extra space leaves room for your internal safety welt and your stitch lines.
2.Transfer the Layout and Cut the Hide:
Grain Scribing.
Lay your cut paper template flat onto the smooth side of your leather. Trace the perimeter using an awl. Use a fresh blade in your utility knife to make clean, vertical cuts along your layout. From a scrap piece of the same hide, cut a separate 1/2-inch wide curved strip that perfectly mirrors the profile of your knife’s cutting edge. This is your safety welt.
3.Incorporate the Safety Welt Panel:
Edge Reinforcement.
Integrating a welt is mandatory when figuring out how to make a sheath for a knife safely. Without it, your sharp blade will eventually slice right through your threads from the inside out. Apply a thin layer of contact cement to the interior borders of your main sheath panel and both faces of the welt strip. Let it sit for 5 minutes until tacky, then press the welt firmly down onto the inner edge.
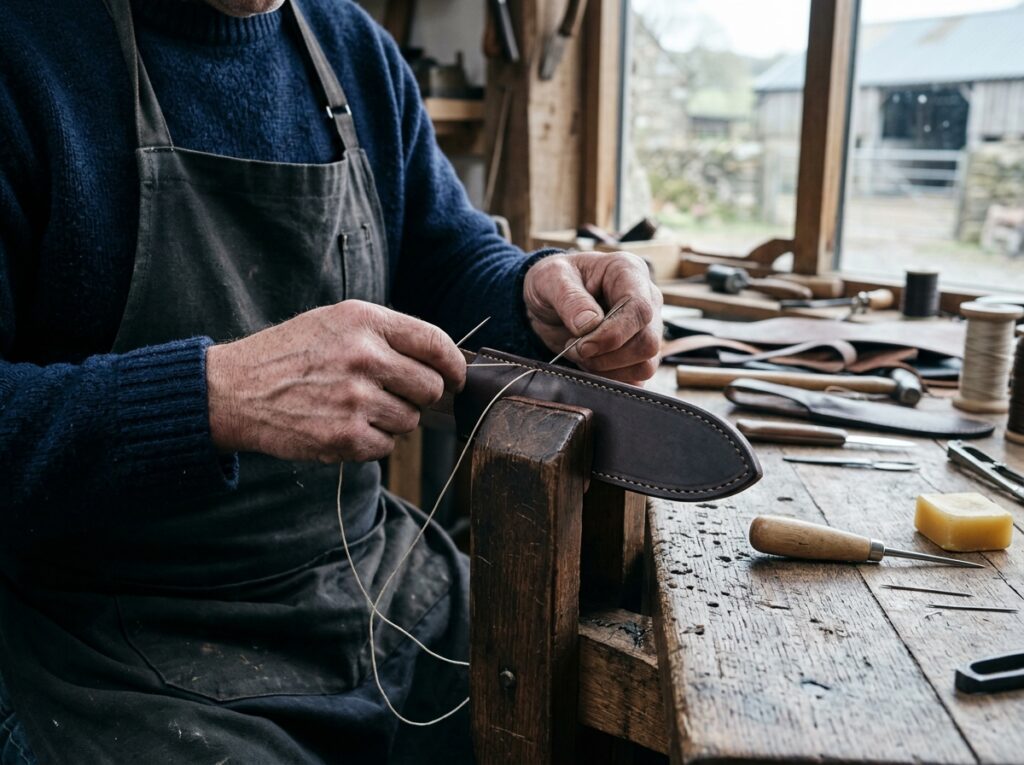
4.Groove, Punch, and Saddle Stitch:
Thread Interlocking.
Apply contact cement to the exposed top face of your welt, fold the main sheath body over, and press it tightly closed. Use a wing divider to score a crisp line 3/16-inch from the outside edge. Drive your stitching chisels straight through all three leather layers along this groove. Hand-sew the seam using a traditional saddle stitch (two independent needles passing opposite ways through each hole). If one thread breaks on the trail, the opposite thread remains locked.
5.Wet-Mold for Custom Retention:
Friction Fit Molding.
Wrap your knife tightly in three layers of plastic kitchen film to protect the steel from moisture. Submerge your stitched leather sheath into warm water for 30 seconds until the fibers soften. Force the wrapped knife deep into the damp sheath. Use your thumbs or a smooth bone folder tool to vigorously massage and compress the wet leather around the handle contours and finger choils. Let it dry at room temperature for 24 hours until it is rock-hard.
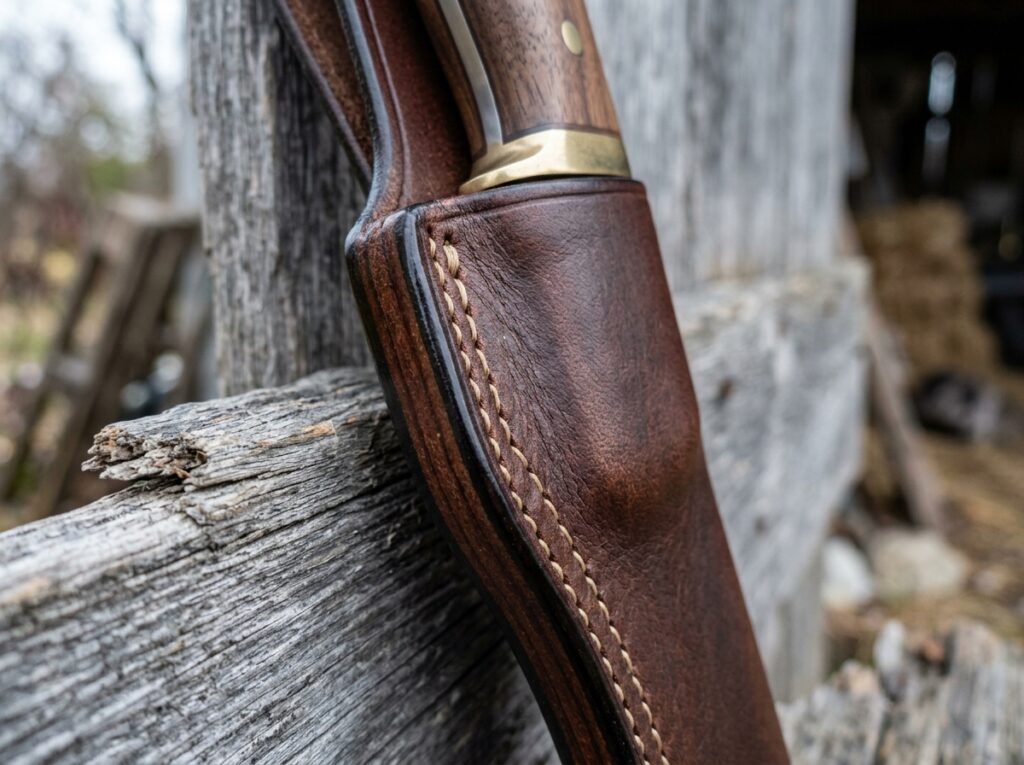
Finishing Touches: Burnishing and Weatherproofing
Once the leather is bone dry, pull your wrapped knife out and remove the plastic film. The raw cut edges of your seam will look rough and fibrous.
Use a manual edge beveler to trim away the sharp 90-degree corners along the outer perimeter. Lightly moisten the raw edges with a damp sponge (or natural gum tragacanth) and vigorously rub the border using a wooden edge slicker until the loose fibers melt together into a glossy, glass-smooth profile.
Finally, apply a thin coat of natural beeswax balm or high-quality leather conditioner across the entire sheath. This seals the organic fibers against rain and trail dust, keeping your custom friction lock functional for decades of rugged service.